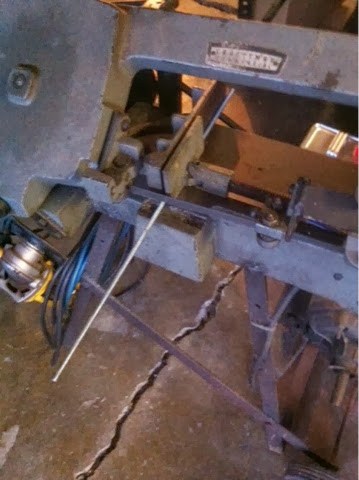
Here is a lineup of the 12 valves. We are replacing the pitman and idler arms on the 2wd today.
Metal fabrication shop located just outside of Grants Pass Oregon. We specialize in Dodge and Ram truck, repair and modification. From lift kits and suspension to full blown frame off builds. We also build headache racks, bed rails and flatbeds.
Thursday, November 28, 2013
Wednesday, November 27, 2013
Starting part 5
The 12 valve is still not wanting to start, I was getting it to start (barely) after leaving it plugged in for a couple hours. Well that isn't working anymore either... Things got serious last weekend. I needed to haul a piece of machinery, the trailer was rented and everyone was waiting on me. I had left the truck plugged in for a couple hours and no start. I ended up borrowing my brothers 2nd gen 2wd 12 valve (we just replaced the ball joints and and tie rod ends the night before and the alignment was way off). I didn't like putting his truck through that and I was determined to fix my starting issue. I started inspecting all the connections and somehow overlooked this toasted connection at the battery positive lead. I couldn't find an 18ga fusable link so I used a 16ga one and soldered it to the existing 18ga link. I also pulled both batteries and drooped them off at autozone for testing. I came back a day later to pick up my batteries and the diagnosis "bad batteries" they will not hold a charge. I was quite bummed to say the least these are OPTIMA red tops!! Well there is no way in hell I can afford 2 more of these so I had to settle for 2 standard diesel batteries. The battery hold downs were beat as hell, two of the bolts were frozen and they just need to be replaced. I made some new battery hold down bolts out of 1/4-20 all thread and nuts. While removing the old clip nuts one broke out a chunk of the battery tray. I made a patch out of 1/8" plastic and a SS screw. I cleaned everything up and started the truck. It was 55 degrees out side and the truck fired up like it was hot. No more slow cranking! It fires up on the first crank, I am quite pleased to say the least.
Wednesday, November 20, 2013
hummer time
The
inside of the hummer is mostly bare metal and with the humidity there
is always some surface rust. I cleaned all surfaces with a wire cup
wheel on an angle grinder followed by a good washing with lacquer
thinner. After all prep the interior floor and exterior bed got two
liberal coats of rustolleum bed liner.

Subscribe to:
Comments (Atom)


