I finally got around to using my new torque wrench. I finished making my custom D60 spinal nut socket. I torqued the hubs to 70lbs rotated them a bit, backed them off and retorqued them to 55lbs. I then installed the keyed washer and outer nut torquing the nut to 75lbs before filling the area around the nut with more red grease. I then installed the internals of the locking hubs after thoroughly cleaning them and applying a bit of light synthetic grease. I also cleaned up the brake mounting hardware and started to dissemble the outer part of the locking hubs.
Metal fabrication shop located in Merlin Oregon. We specialize in Dodge and Ram truck, repair and modification. From lift kits and suspension to full blown frame off builds. We service and repair all major brands or truck as well as equipment. We offer onsite welding and troubleshooting. We also build headache racks, bed rails and flatbeds.
Saturday, May 9, 2015
Tuesday, May 5, 2015
Axle pt35
I got the wheel bearings cleaned, greased and installed. I did not get a chance to torque them to speck yet. I think I accomplished a fair amount seeing as I also was doing a little wiring and hanging some sheet rock this evening as well.
Monday, May 4, 2015
Window problems
We have been having problems with Thomas's driver window for months. We have replaced the motor put it in with the spring 4 different ways. Its always the same problem it will roll down but not up. We picked up first gen driver a door off of craigslist with a manual window crank. We are going to swap over the internals. We have spent way to many hours messing with the currant set up. Hopefully going manual will solve the problem.
Since my kings are traditional style and not pin top the factory shock mount will not work. I drew up a new shock tower and gave them to a friend of mine who runs industrial laser cutters for a living and he whipped these up for me.
Saturday, May 2, 2015
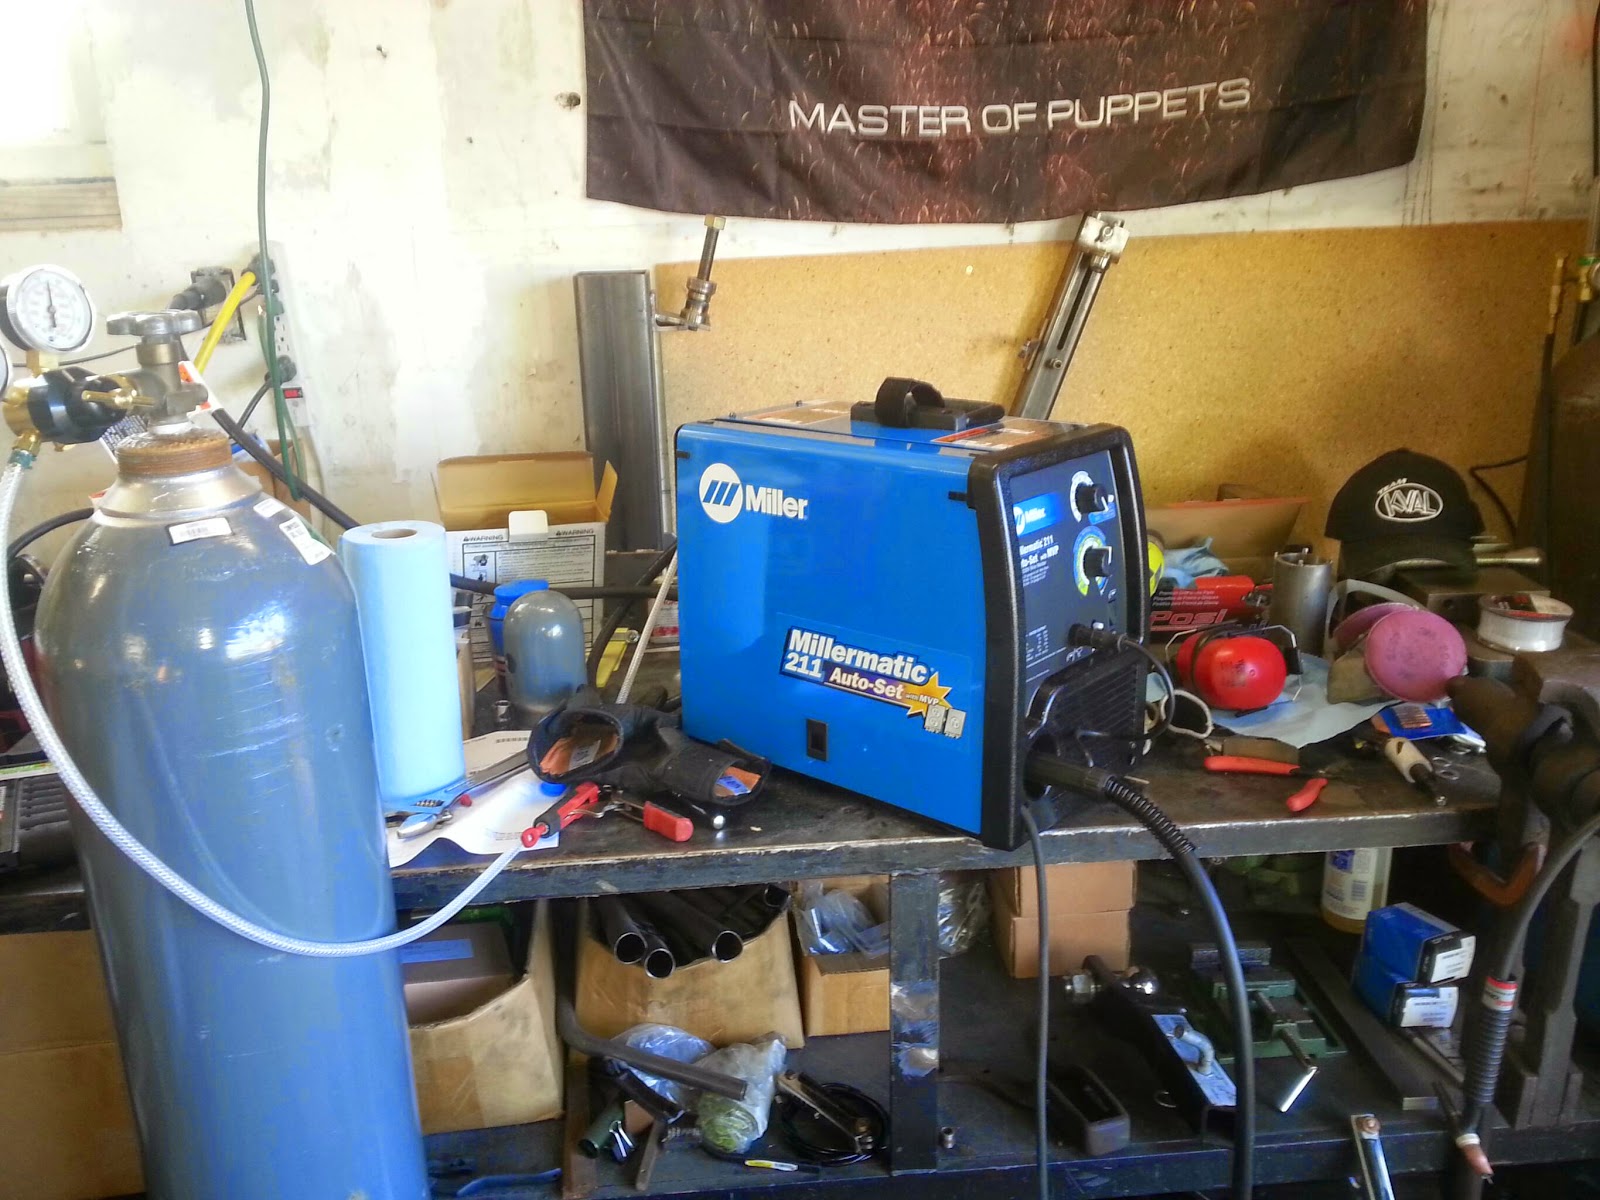
Miller time
I have been wanting to buy a decent MIG welder for a while now. I finally bit the bullet and bought this little guy. I am exited about having shielding gas as well as the ability to weld 3/8" thick material. First order of business was to build a cart for the machine and bottle.
Tuesday, April 28, 2015
Axle pt34
I installed the knuckles and axle shafts tonight. I had to remove the spinal, rock guards and caliper brackets so I could mount the knuckle and slide the shafts through the opening. I was in such a hurry putting the passenger knuckle on that I forgot to line up the plastic bushing with the slot in the knuckle. So I pulled the cap off, removed the silicon, lined up the bushing, reapplied more silicon and bolted the cap back on. Also I am still working on my house, the last pic is the first wall with insulation and proper sheet rock in my garage. I also picked up an older craftsmen tool chest recently. I took it all apart and cleaned everything, removed the casters and re installed them with larger hardware (missing and damaged hardware as well as a frozen wheel). I have been amassing more tools and it will be nice to have a home for them.
Monday, April 27, 2015
Axle pt33
When I cleaned up the king pin parts I noticed that one of the shims that goes on the bottom of the spring was broken. I decide to replace them both. After visiting all the local parts store I came up with nothing... so I made my own. I welded a couple washes together. A large one on the bottom in that will sit between the spring and the kingpin bushing and a smaller one on top to keep it centered. I also painted the top and bottom caps gloss black engine enamel.
Saturday, April 25, 2015
Axle pt32
With the defective u-joints out I took some 220 grit sandpaper and cleaned up the u-joint mounting surfaces before applying a thin layer of grease and pressing the new u-joints in. They took quite a bit of force to press in but were easier than the defective ones.
Subscribe to:
Posts (Atom)